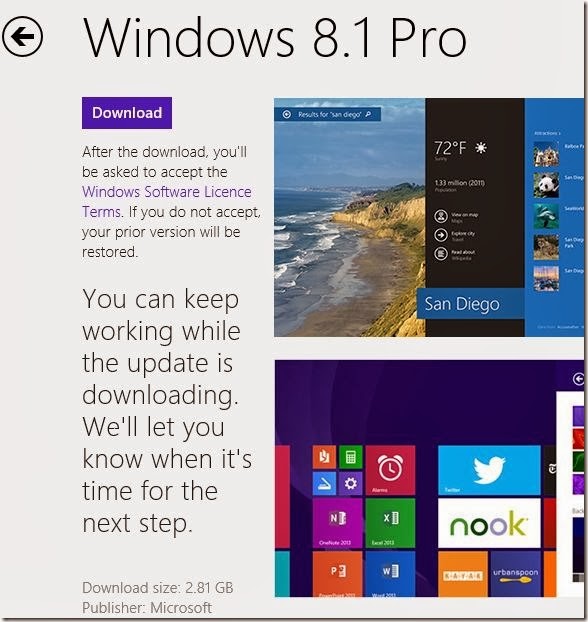
It’s been close to few month since Microsoft released Windows 8.1 RTM update to the public. Microsoft’s newest version of Windows operating system, which includes over 50 new exciting features, is an attempt to improve the previously released Windows 8 version and is available as a free upgrade to all Windows 8 users.
Users who have been using Windows 7 and previous versions of Windows
might want to test drive the latest offering from the software giant
before making the final call. To help all users install and experience
Windows 8.1 OS, Microsoft has made available for download a 90-day
evaluation copy of Windows 8.1 Enterprise edition.
In addition to
all features available in Windows 8 Pro edition, the Enterprise edition
include some features designed for business, such as Windows To Go, App Locker, BranchCache, Virtual Desktop Infrastructure and more.
As
with Windows 8 and Windows 8 Pro editions, the Enterprise edition is
also available in both 32-bit and 64-bit versions. You could either
download 32-bit ISO or 64-bit ISO from the download page.
If you plan to install it in a virtual machine or a PC with less than 2GB of RAM, I recommend you download the 32-bit ISO, as the recommended RAM for x64 Windows 8.1 is 2GB and requires more disk space when compared to the 32-bit version.
According to Microsoft, you need at least 20 GB of free space to install 32-bit version of Windows 8.1 and at least 20 GB for 64-bit version too.
To download the 90-day trial copy, head over to link mentioned at the end of this article, select the version of Windows 8.1 (32-bit or 64-bit) that you wish to download, click Get Started Now button, sign-in with your Microsoft account (Hotmail, Live, MSN or Outlook), provide the basic information such as the purpose of downloading the ISO copy & your current Windows version, and then click Continue button to begin downloading the ISO image file.
Once the ISO file is downloaded, you need to prepare a bootable USB or bootable DVD by burning the ISO file.
Download Windows 8.1 From Here
If you have any queries or suggestions related to this post, you're most welcome in comments..! :)


